Select Page
Epicor DMT: Data Management Tool Tips & Tricks

Epicor DMT: Data Management Tool Tips & Tricks

connected technology

The Magic of Epicor DMT Licensing


A common user challenge over the years with Epicor’s Data Management Tool (DMT) relates to the licensing of the actual module. Epicor DMT came from a very different evolutionary thread than the main application, and when trying to bind these threads, things often become tangled.


Licensing can be especially twisted, and more than a few us have felt the frustration of figuring out just who to send the license request to. Then remembering that we needed to cull the list of Company IDs from the database to be licensed. Then anxiously waiting for the returned file to arrive, hoping that we weren’t going to receive, by accident, a license file configured for a manufacturer of manure spreaders, headquartered in Glasgow.


But fear not, dear users. Epicor provides us a DMT remedy. For versions less than 10.02.5xx, you will still need to send Epicor a list of your Company IDs so that they can generate the appropriate license file for your use. But for versions 10.02.5xx and above, the DMT license is now included as part of your E10 license and is no longer reliant on your Company IDs.


As you can see below, DMT can now be licensed through Epicor’s standard license, which removes the need to drop individual DMT license files in user client folders. This greatly simplifies the deployment of the Epicor DMT application.


Epicor DMT Data Management Tool Tips and Tricks


That said, there are a couple of related tricks that can help you separate the forks from the sporks in your Epicor kitchen. One way to identify your DMT licensing from the DMT application itself is to utilize the settings icon at the bottom of the application and open the “DMT License Info”:


Epicor Data Management Tool

This will raise a properties window, providing details about the DMT license:

Epicor DMT License Information


DMT is a client-based application. Therefore, much of the magic behind the DMT module is to be found in the application’s client folder.  This includes licensing. Going back to our talk about license, it’s important to understand that for a DMT client to function correctly, one of the following must be the case:


• DMT must be licensed in Epicor’s Standard License file, which is installed on the application server.
• A traditional DMT .lic file must be deployed in the user’s client folder, where the DMT application normally resides.


Let us, as an example, assume we’re in a situation in which DMT is not licensed through the Admin Console license file. In lieu of the main license, a DMT-specific .lic file will need to reside in the client folder:

Epicor Search Client


Were I to remove the .lic file from the client folder…


EstesGroup Client Screen


…upon my attempt to log into DMT, I will receive a licensing error:


Module License Configuration


As such, if you don’t have the DMT module licensed through the Admin Console, you’ll need to make sure you’re still planting the company-specific license file in the appropriate client folders. If you think about it in the sense of a cooking motif, you can think of it as a situation in which the pantry is emptier than Mother Hubbard’s cupboard, the grocery store delivery is still a day out, and your mask is at the bottom of the laundry basket. Sometimes you need to cook with only what’s already in your house. Just like your dinner occasionally falls together as a tasty combination of tomato soup and wanton noodles, you’ll sometimes need to get a company-configured license file and stick it in your client folder. With these steps, you can get the Epicor DMT program to run.


DMT is great in an E10 Upgrade.

Epicor BAQ: Returning Too Much of a Good Thing

Epicor BAQ: Returning Too Much of a Good Thing

Epicor BAQ

The Epicor BAQ (Business Activity Query) toolset allows you to leverage the mounds of data that your system generates. But the problem with mounds of data is its volume—when we say mounds, we mean… mounds. As such, Epicor has built in a feature to its BAQ designer to limit the number of rows returned.


This feature prevents a “runaway query” from tanking a company’s performance. This functionality was especially helpful when I first delved into queries, as it prevented me from needlessly tanking my environment. Looking back at some of my early queries, they certainly were tank-worthy.


But for experienced Epicor users working with large datasets, this limitation can be… well, limiting. When a query generates a dataset that is more than 10,000 rows, the following warning message displays:


Severity: Warning, Table: , Field: , RowID: , Text: Test results are forcibly limited to 10000 rows to prevent the application server memory overload:


Activity Query Epicor BAQ


This can be immensely frustrating to Epicor super-users, for there are cases when the entire dataset needs to be returned, to gauge the efficacy of a given BAQ. In the past, the workaround to this limitation was to embed the BAQ in a dashboard, as the 10K row limitation disappeared when the BAQ was part of a dashboard.


But such an additional step seemed like an unnecessary contrivance—scaling the fire escape when all you needed was a step ladder.


Fortunately, Epicor modified the BAQ designer to allow the person creating the BAQ to modify the Execution setting that limited the number of returned rows. The steps to make this possible are below.


From the Actions menu, select “Execution Settings”:


Activity Query BAQ Execution


Click the new icon to create the new execution setting.


This creates a new execution setting that needs to be defined. Then you can perform the following additional steps:

  • For the “Setting Name” select “RemoveTestRowLimit”
  • Set the Setting Value to “True”
  • Check “Persist In Query”
  • Click OK:
BAQ Query Test Execution


Thereafter, the BAQ will return all the available rows:


Epicor Activity Query Designer


The execution setting needs to be defined for each query for which you wish to return more than the default number of rows. Make sure to save the query after the execution setting has been defined.


Ready for a quintessential query?


Successfully navigating the Epicor application is rarely a matter of taking one great leap forward. More often than not, it is a series of small, incremental steps. With Epicor BAQ, your goal is to take your data and turn it into information—without getting lost in the volume.


To learn more about Epicor management and administration, please watch our video on cloud ERP by clicking here.

Epicor User Security – Allow Multiple Sessions (Video)

Epicor User Security – Allow Multiple Sessions (Video)

Your Epicor Application is In Session


Over the years, we’ve worked with a number of fledgling ERP administrators on resolving Epicor user security and user account maintenance issues.  One common quirk with Epicor user account maintenance relates to the flag that allows multiple concurrent sessions (in the database: UserFile.AllowMultipleSessions).  This is a powerful checkbox, significantly affecting a user’s experience of the application.  The best way to deal with Epicor user security troubles is to understand the functionality of the application, and our hope is that in this example, we can show you one way to avoid ERP administration headaches.

The multiple concurrent sessions flag itself is set via the Epicor User Account Maintenance screen:


The “Allow Multiple Sessions” checkbox defines whether a user can launch multiple sessions of the Epicor application.  This lets the user log in multiple times and interact with the environment and with the system from either session.  This can be helpful in performance-constrained environments, where a form might “hang” for a number of minutes and necessitate the use of a second session for subsequent parallel activities.  But none of this is possible if the checkbox is not set.  In practice, the setting of the “Allow Multiple Sessions” flag has two primary effects for a general user.


For customers working in multi-company or multi-site environments, when this flag is not set, a change to a user’s current company and/or site will force all open forms to be closed.  This does not occur when the flag is set:


If this checkbox is not selected, a user can only have one instance of the Epicor ERP application open at a time.  If they log into a new session while already logged into the system, the older session is deleted.


Once logged into the second session, the user will receive an error from the prior session, with a warning that the session has been cancelled:


Gaming the System


It’s surprising how significant the influence of enterprise systems is on manufacturing and distribution companies.  The configurations of these systems frequently determine the rules of the game that companies and their users have to follow.  Because of this, you have to choose your systems carefully and work to understand the rules by which they play.  


In an Epicor application context, dialing in the system to support the needs of your end user community is a key step in both the implementation and the ongoing maintenance of your Epicor installation.  In addition, it is important to understand how a company’s security involves more than just firewalls and endpoints.  Within a company’s domain, and within its core applications, it is important to understand what users should and shouldn’t be able to do.  In Epicor, many of these IT security permissions are defined through the User Account Maintenance screen.


Whatever your enterprise system of choice, make sure to leverage its security permissions to empower optimal user productivity, while also minimizing risk.  Beyond the bounds of Epicor user security, make sure to draw in all of your resources to create protective guidelines for your user community. 


Are you having issues with, or have questions about, your Epicor 10 ERP Application area? Contact us today.

Epicor Functionality in the Admin Console, Unwrapped

Epicor Functionality in the Admin Console, Unwrapped

New User Access, New E10 Functionality


Managing the Epicor functionality available to the user community is one key role of an Epicor Administrator.  In this light, it’s not uncommon for customers using the Epicor application to continue to add new modules.  An understanding of Epicor 10’s functionality develops over time, as administrators and users learn the full capabilities of E10 and how ERP can help run a business.  Once new E10 modules are licensed, and once the license is installed, users will need to have an administrator enable access through the Epicor Admin Console in order to allow users to make use of this new Epicor functionality.


Let’s walk through the steps you need to know to effectively manage newly installed Epicor modules.


In order to enable a new module, you will first need to be logged into the application server, which is the box where your Epicor application is installed.


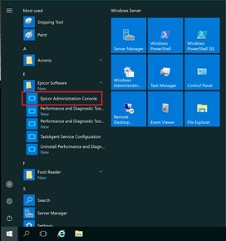
Once on the application server, open the “Epicor Administration Console”:


Once the Epicor Admin Console is open, perform the following steps to enable the desired module:

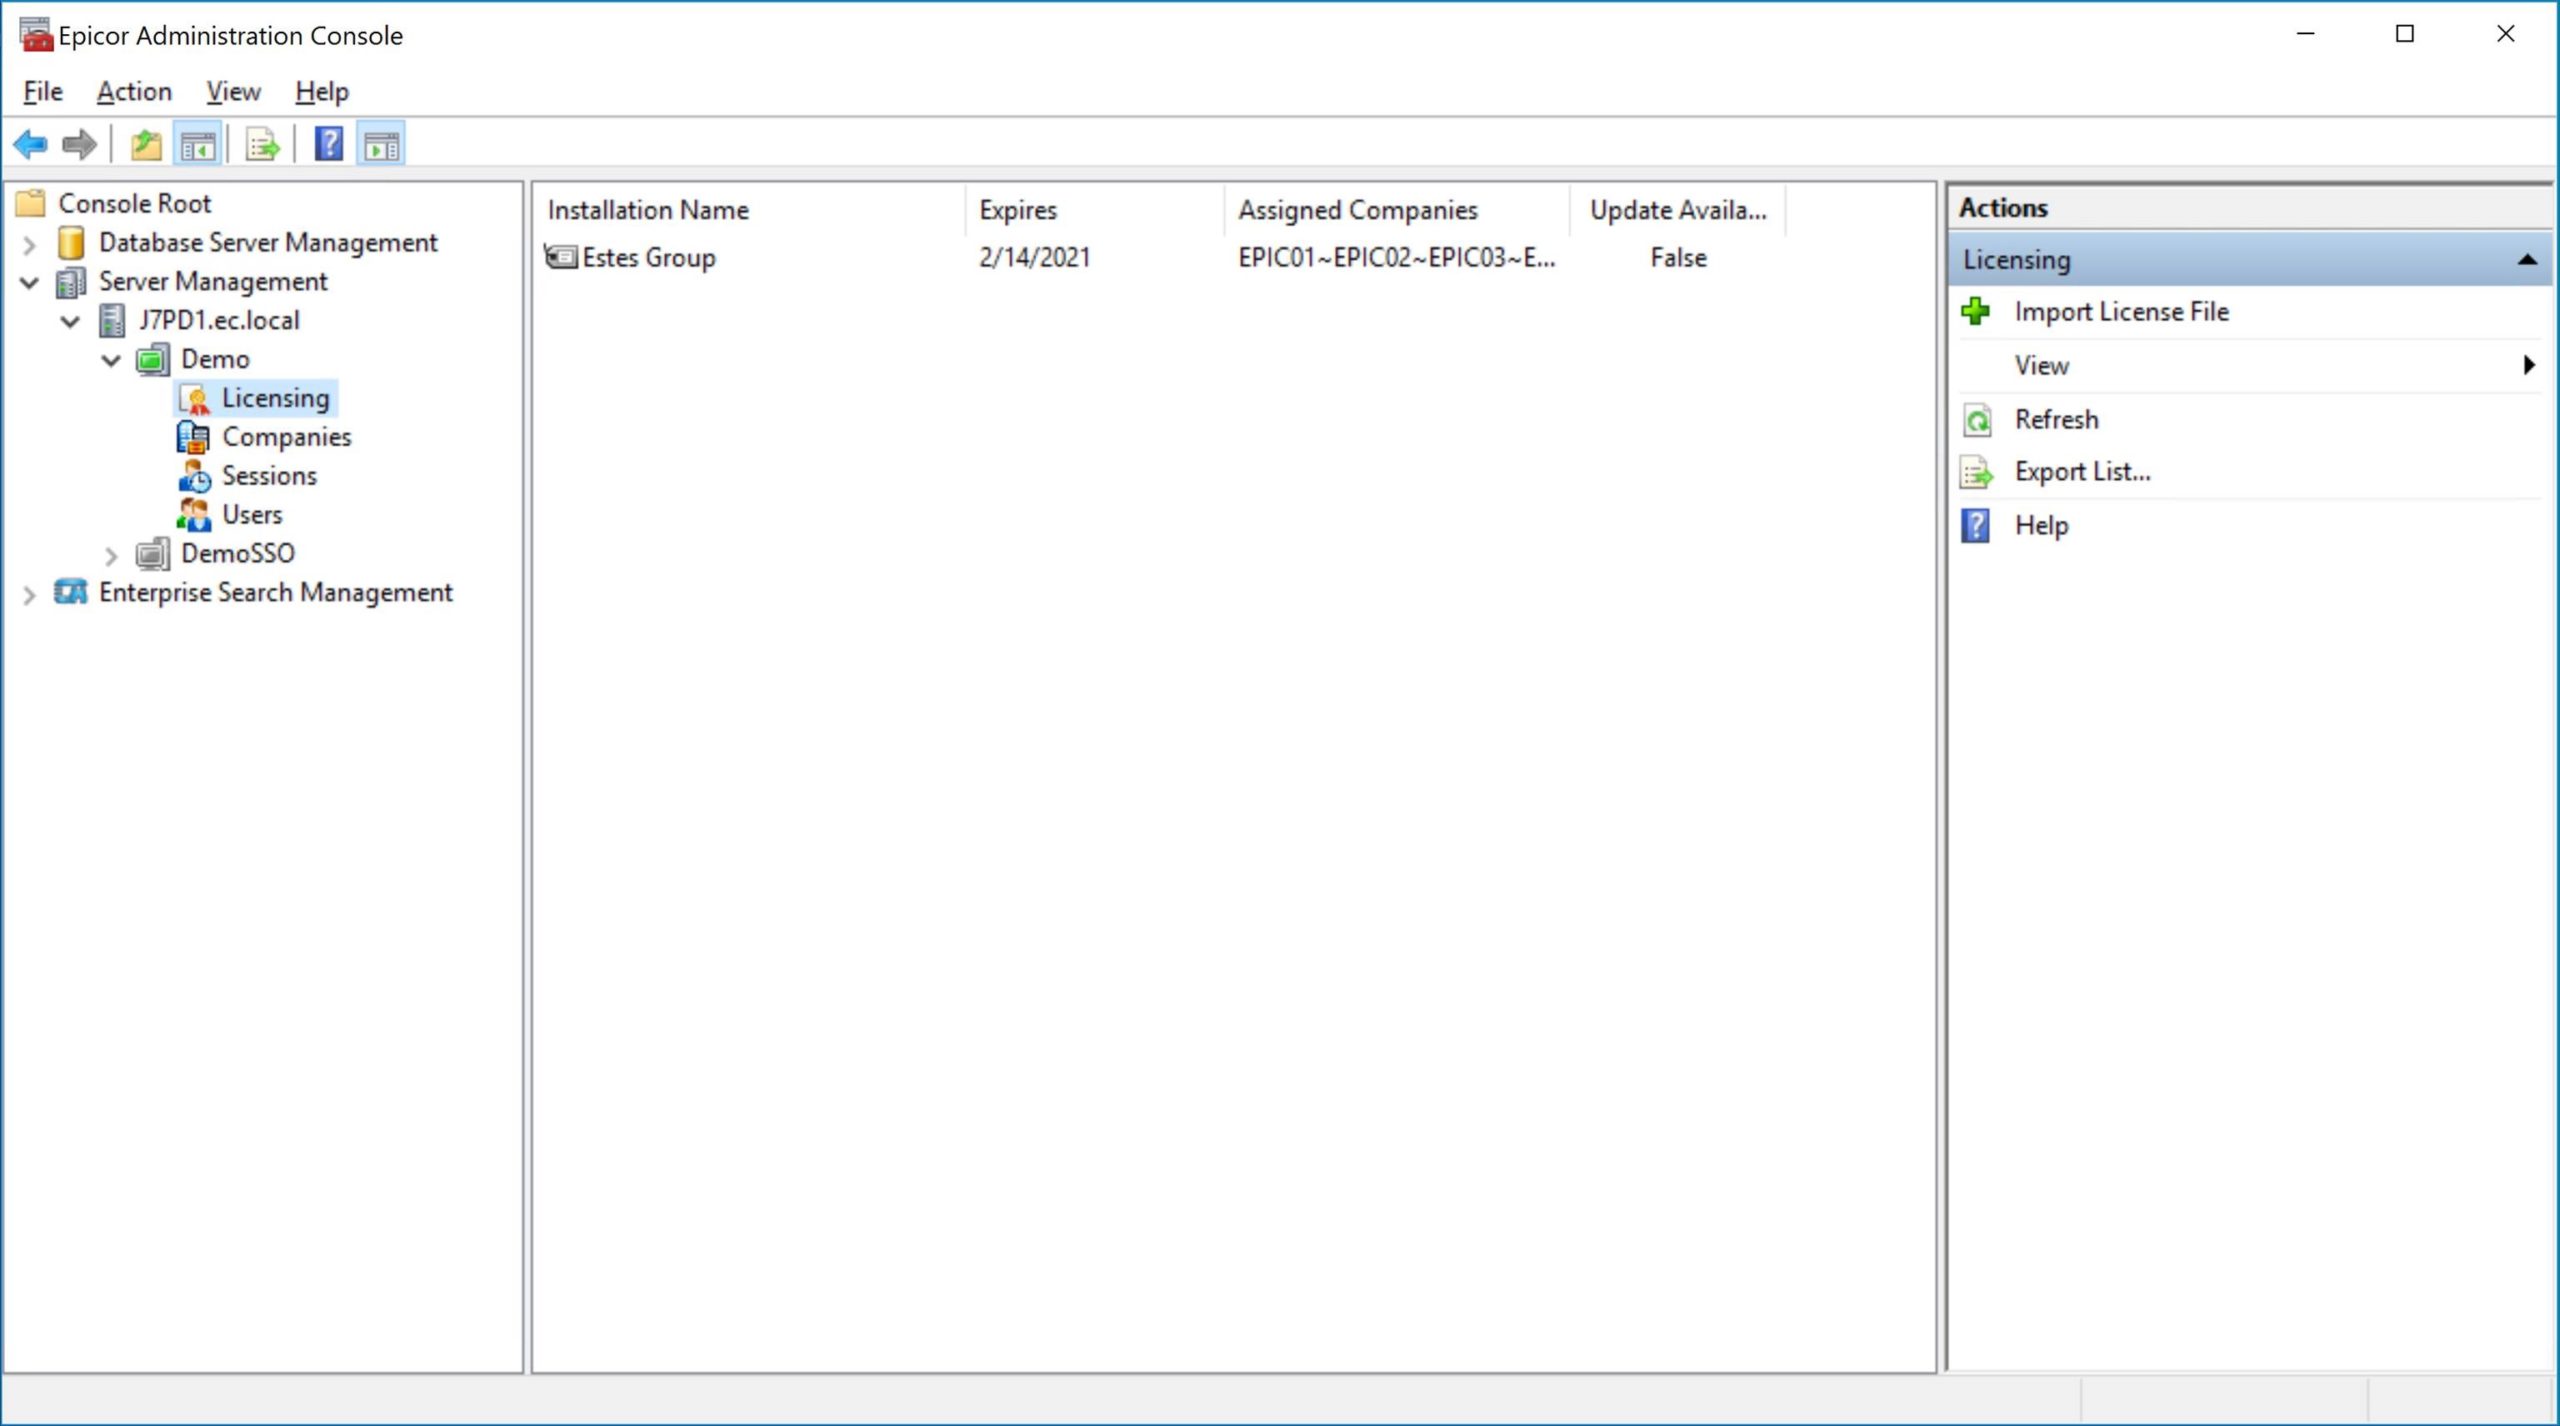
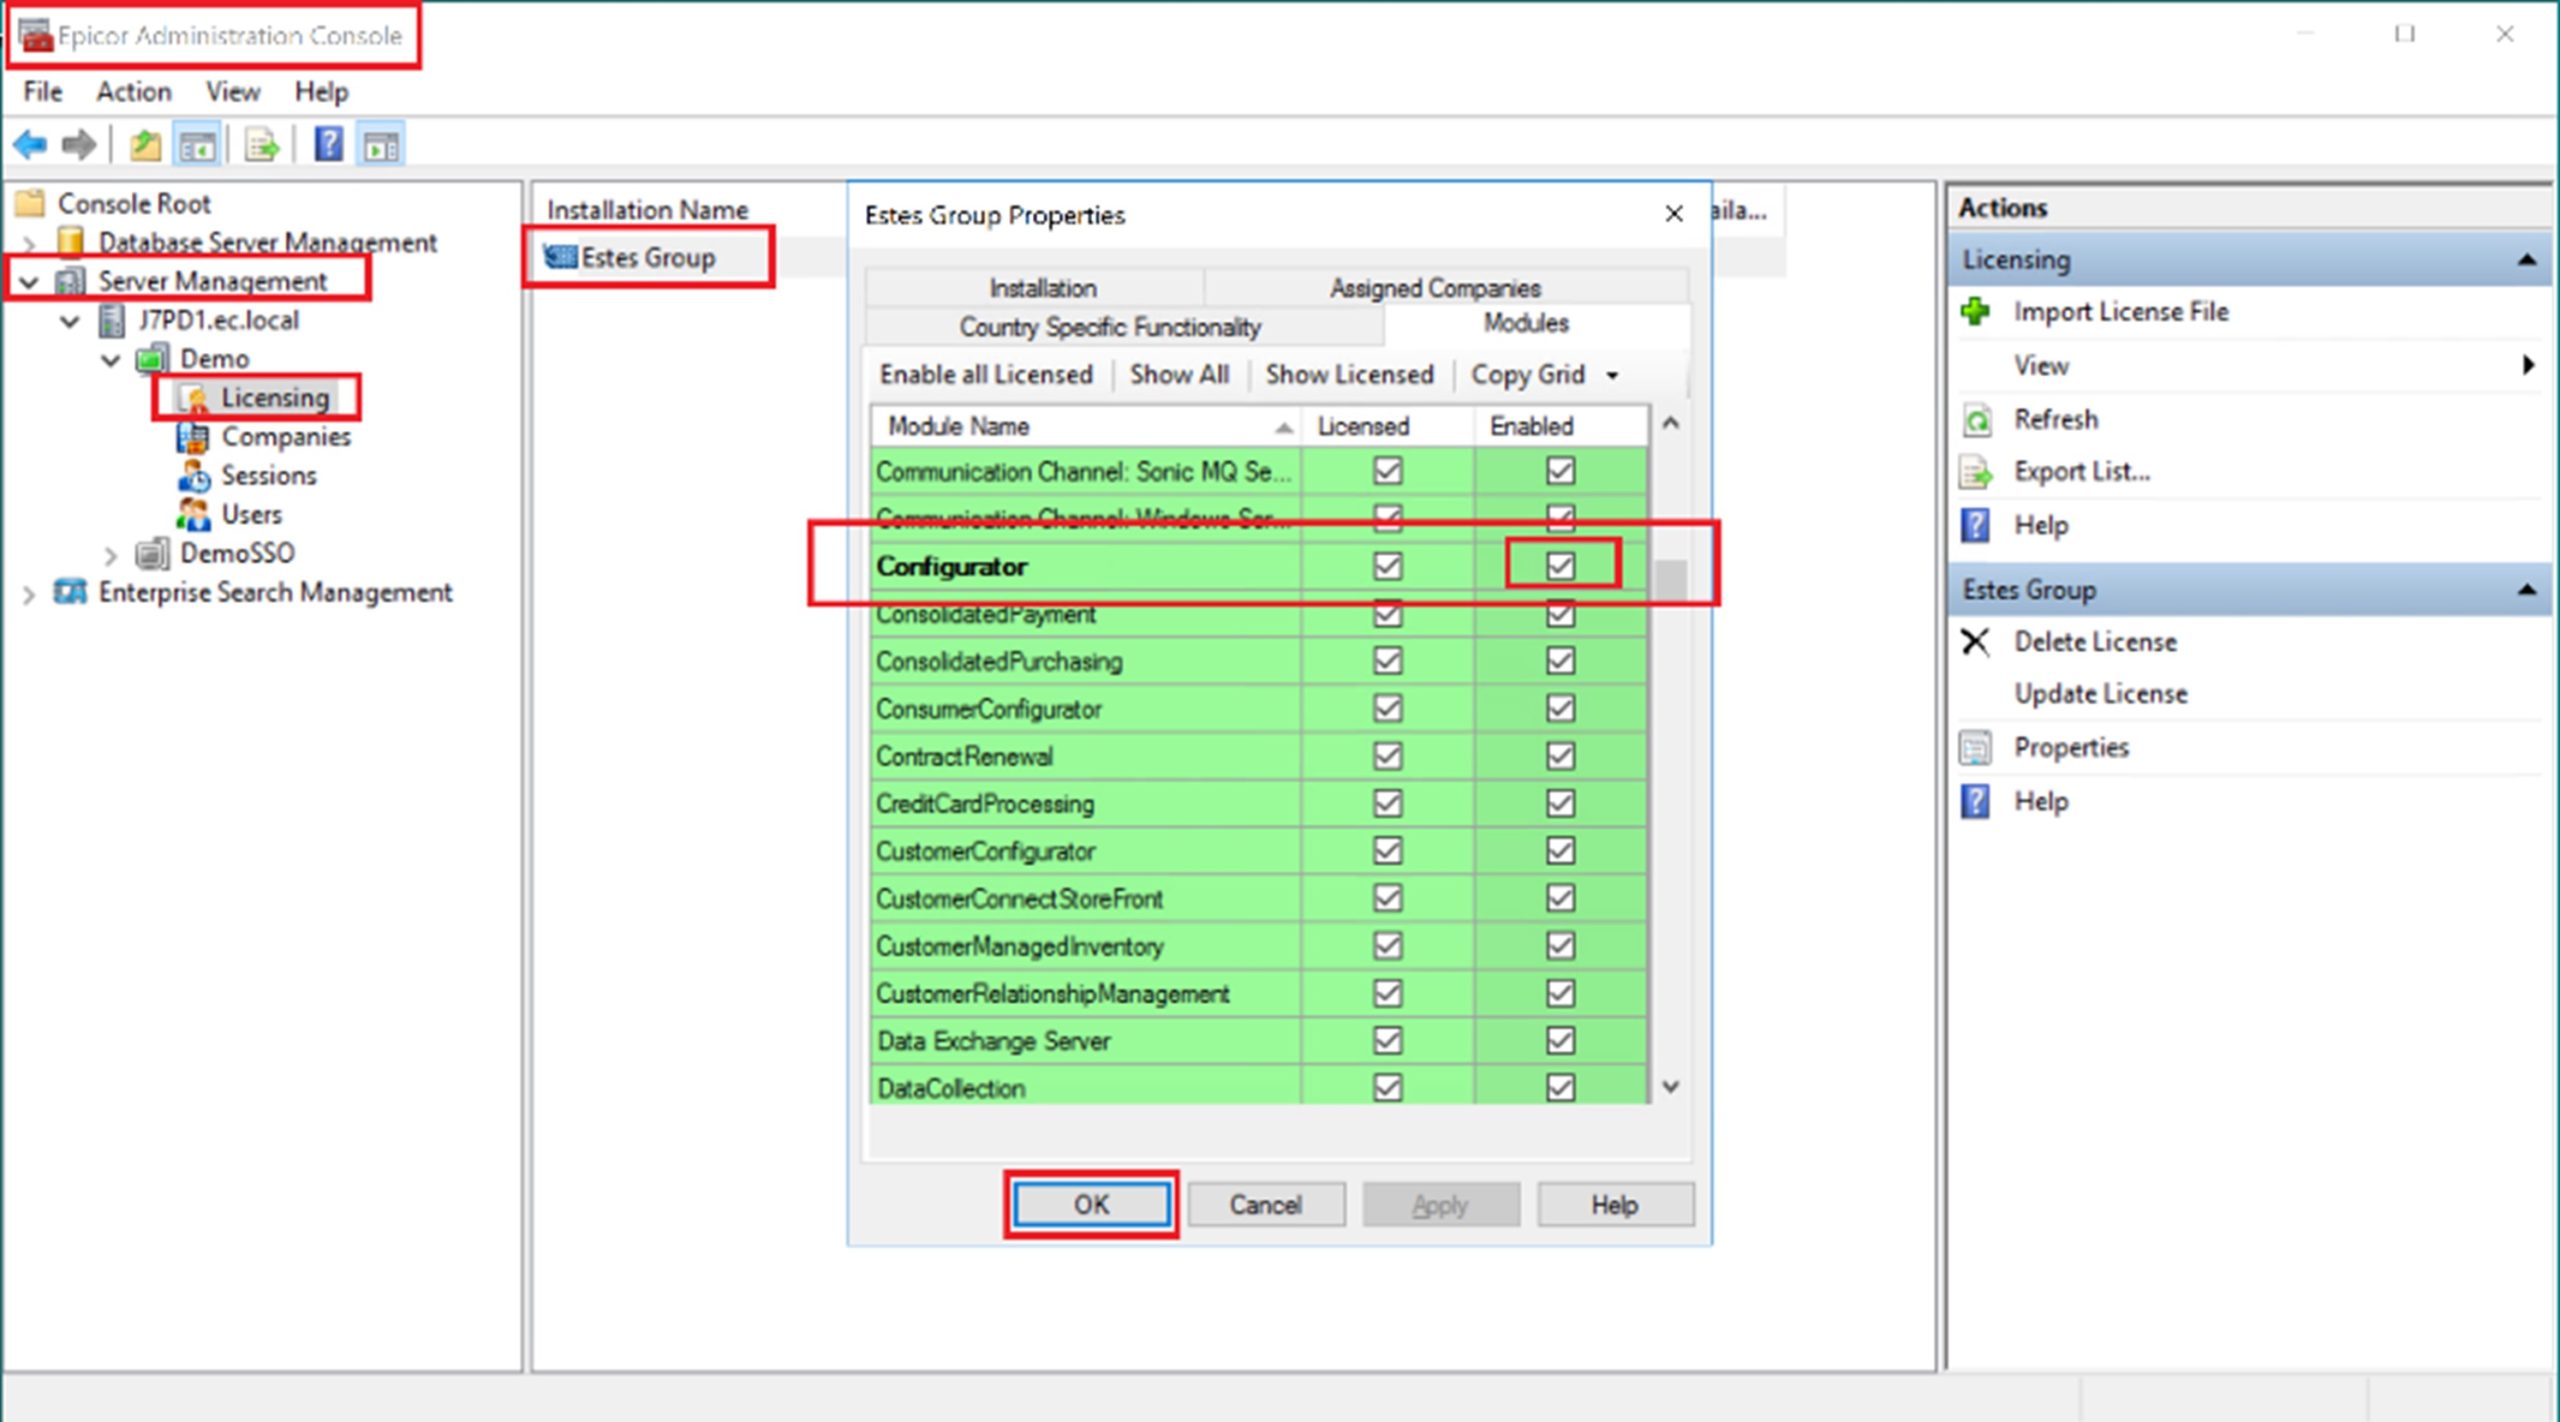
  • Open the “Server Management” node in the left tree view and locate the Epicor instance in which you wish to enable the new module.  In the example below, it is the “Demo” instance.
  • Open up the E10 instance node and click on the “Licensing” node beneath it—this will display the license file in the panel to the right of the tree view.
  • Double-click the license file.  This will raise a little properties window.
  • Navigate to the “Modules” tab.  Sort by module name and locate the module you wish to enable.  Check the “Enabled” box to enable the module in question.
  • Click the “OK” button to commit the change:

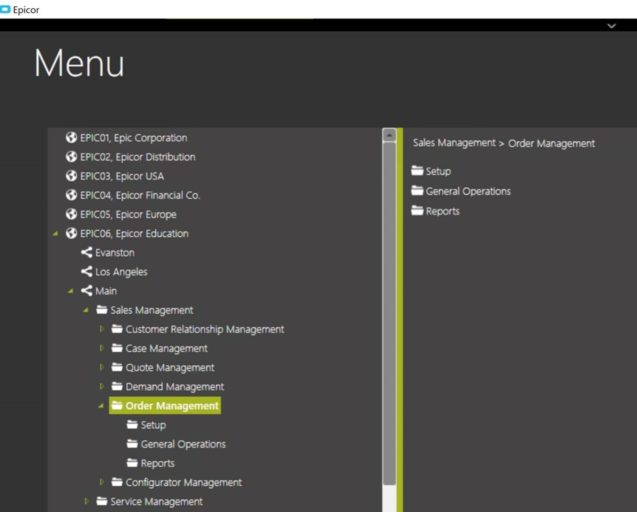
Once that is accomplished, a user who has just logged into the Epicor application should see the new module available in the menu:


If your team is making suboptimal use of your Epicor application, you can easily enable some new functionality through the Epicor Admin Console, and they’ll be licensed to thrive.  There are several ancillary modules that can help extend the benefits of the Epicor application throughout your business.  Epicor has plenty of goodies in the basket.  The Epicor Admin Console is the tool for unwrapping these bonbons, enabling delectable Epicor functionality.  Bonbon appétit!


Not sure what specific Epicor functionality to enable?  EstesGroup specializes in Epicor ERP, and our consultants can help your users make the most of your Epicor License.