Simplifying SYSPRO 8 Client Installations
Installing client machines for SYSPRO ERP can be a tedious process. Accessing the SYSPRO 8 Installer on each client machine, signing in to the installer, going through the various tabs and steps to successfully install both the client and the necessary reporting software. What if there was a significantly easier way to perform these installations? As a matter of fact – there is!

Instead of going through the installer every time you install a SYSPRO client, you can create and export a SYSPRO product batch file. The batch file allows you to both quickly and quietly install a SYSPRO client along with the necessary reporting software without using the SYSPRO installer at all.
You can create your own SYSPRO batch file installer by following the steps outlined below.
STEP ONE: Launching the SYSPRO Installer
Find and launch the latest version of the SYSPRO Installer. By default, this file is located in: “\\*servername*\SYSPRODeploy”.
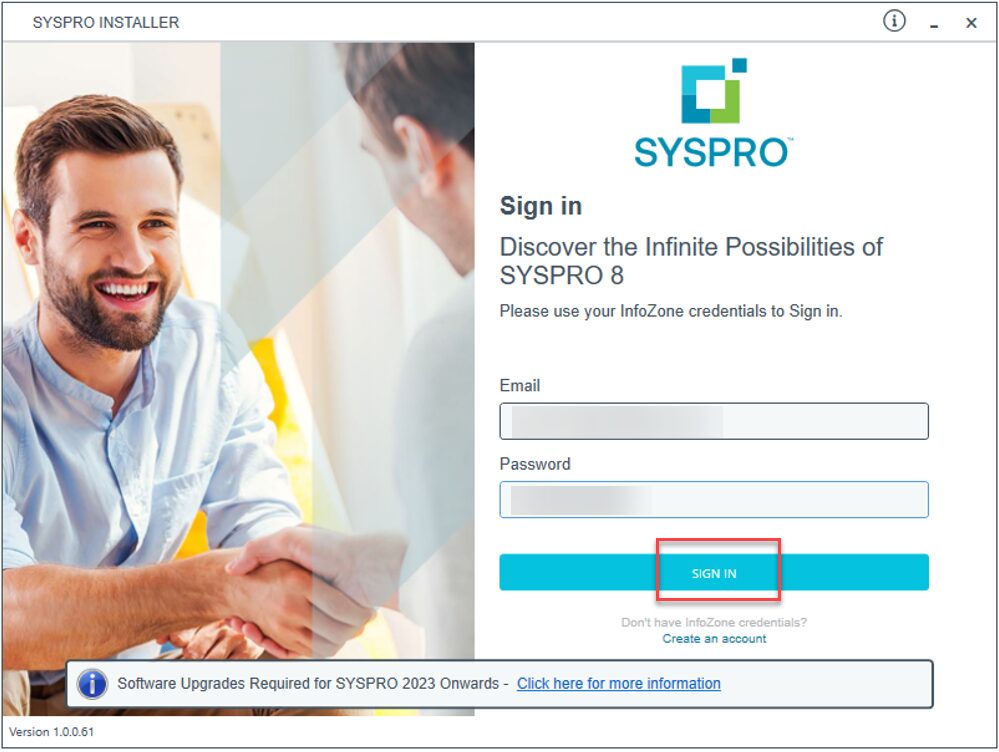
STEP TWO: Signing In
Go through the steps of signing in to the installer using your SYSPRO InfoZone credentials.
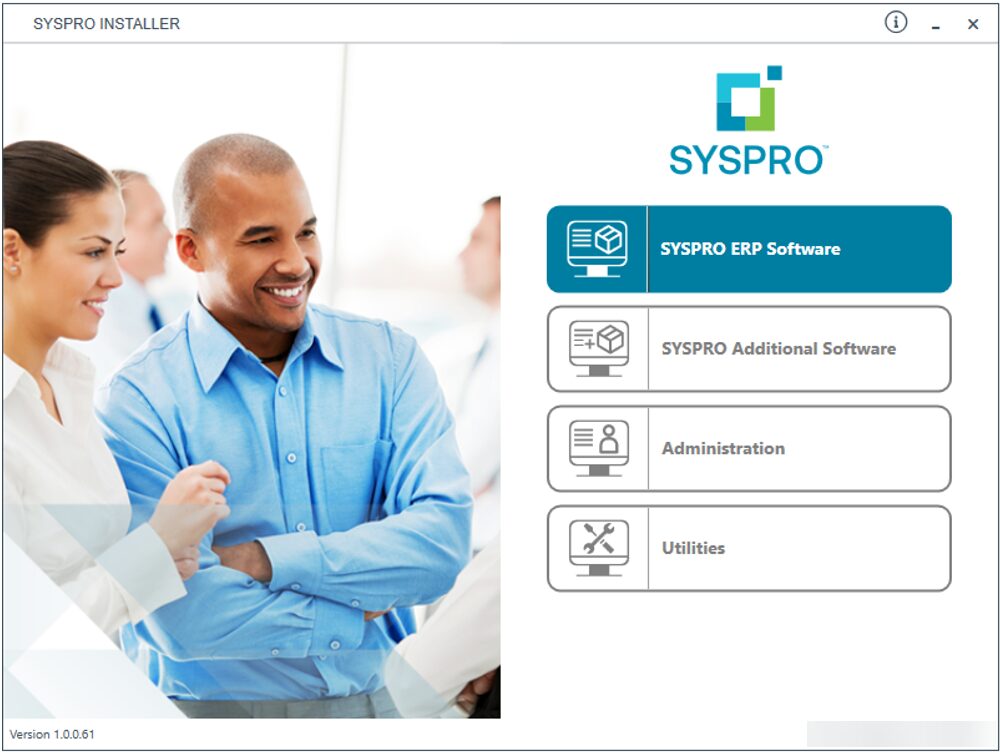
STEP THREE: Click to Select
Click on “SYSPRO ERP Software”.
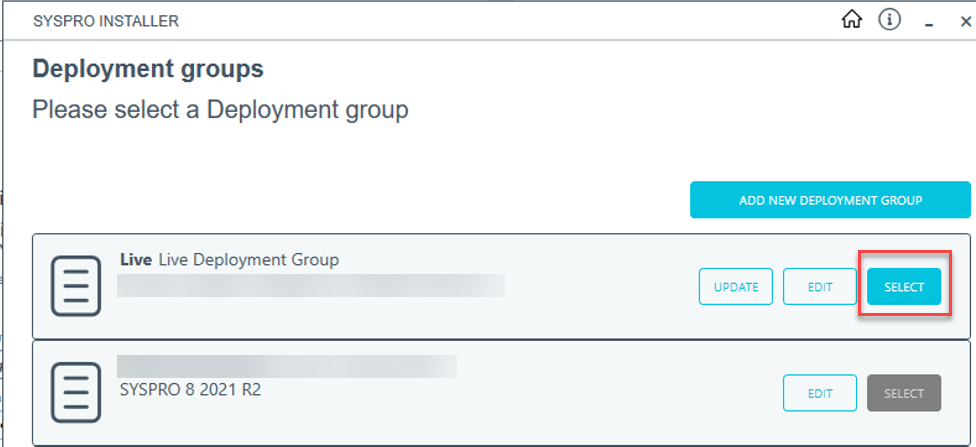
STEP FOUR: Selecting Deployment Group
Click “Select” on your desired deployment group.
STEP FIVE: Exporting SYSPRO 8 Client
You should now see the available product list for your SYSPRO environment. In the top left-corner of the product list header there will be a little “Export” button. Click this button.

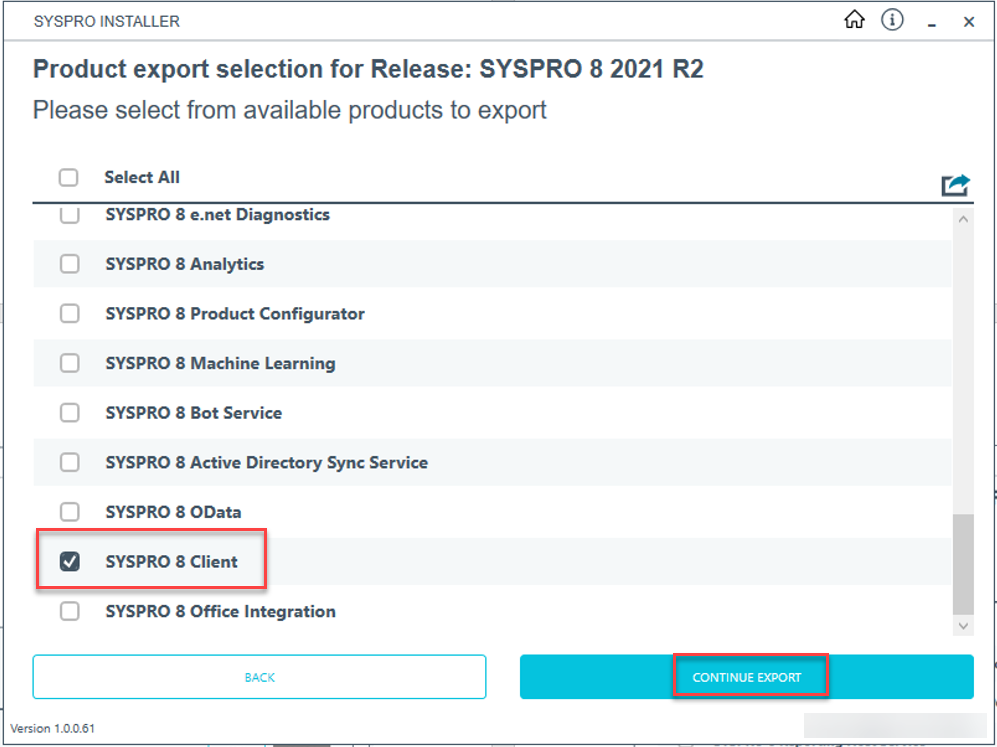
STEP SIX: Export
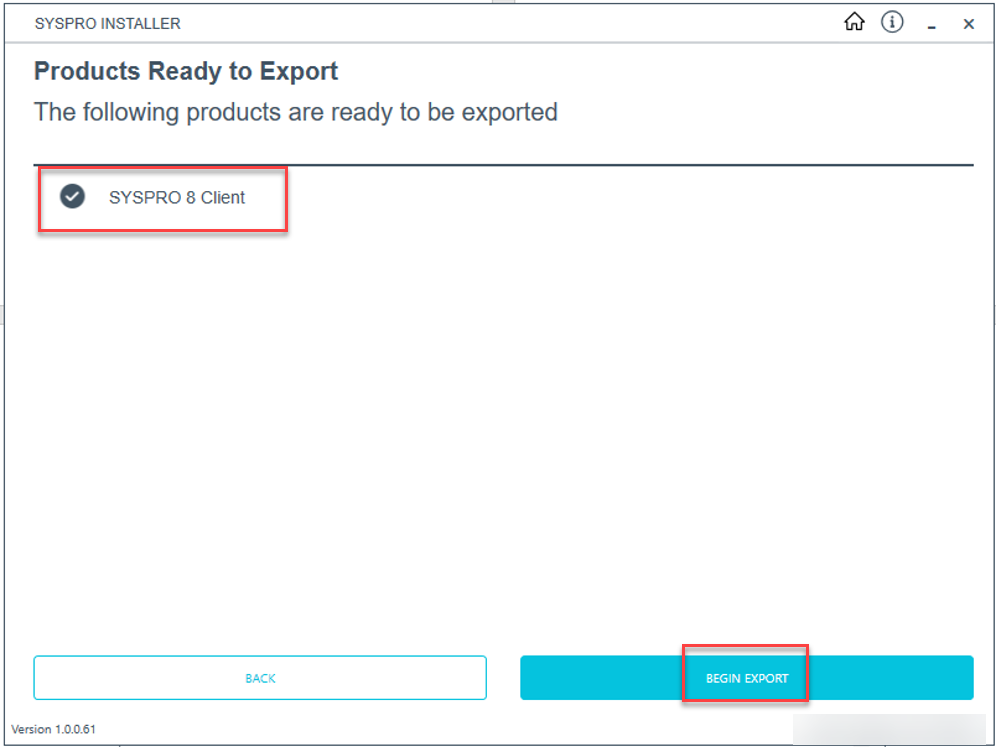
The product list now changes to an “Export” selection. Find and select the SYSPRO 8 Client and click to continue the export.
STEP SEVEN: SYSPRO Terms
You will be asked to review and agree to general installation terms. Proceed through the export wizard until you can select to begin the export.
Effortless SYSPRO 8 Client Installation with Batch Files
A batch file is now created and can be used to install the SYSPRO 8 client along with its required services. By default, the batch file is stored in “\\*servername*\SYSPRODeploy\Exports”. Following similar steps, you can create an additional batch file for reporting software by navigating through the “Additional Software” section of the installer and selecting your version of Crystal Reports to export. Using these batch files, you can now quietly install a full SYSPRO client configuration with only a few clicks!
Here are a few helpful tips to keep in mind when using the batch files:
- Run the batch file to install the SYSPRO client first prior to installing any reporting software.
- To ensure that the products are installed properly, make sure that you run the batch files as administrator. Additionally, the domain user running the batch files will need sufficient access to the SYSPRODeploy folder on the SYSPRO Server where the targeted products and install files are located.
- You can use the Programs & Features part of Windows to verify that the products installed successfully after running the batch files.
- If something fails to install, you can always use the SYSPRO 8 Installer program to retry the installation manually.

